When connecting an external monitor to your MacBook, it's not uncommon to encounter detection issues. To start troubleshooting, verify that all cables and adapters are securely plugged in and free from damage. Confirm you're using compatible and high-quality cables, as these can greatly impact connectivity. If your Mac doesn't recognize the monitor, head to System Preferences > Displays and click "Detect Displays" to manually prompt the system to find it. If this doesn't work, there may be more underlying issues to address, such as updating macOS or using specific drivers, which we'll explore next.
Key Takeaways
- Verify Connections: Ensure the correct cables and adapters are used, and inspect for physical damage and secure connections.
- Inspect Ports: Check for damage or debris in ports and try different ports to resolve connection issues.
- Use Detect Displays Button: Go to Apple menu > System Settings > Displays, press and hold the Option key, and click "Detect Displays" to prompt recognition.
- Check Compatibility and Quality: Ensure cables and adapters are compatible with both the MacBook and external monitor, and use high-quality hubs.
- Restart and Update: Restart the Mac and update macOS to the latest version to fix software-related issues.
Troubleshooting Basic Connections
When connecting your MacBook to an external monitor, several basic steps can help resolve common issues. First, verify you're using the right cables and adapters. It sounds obvious, but faulty or incompatible cables can be the culprit. Check for physical damage and make sure everything is securely plugged in. If you're using a USB-C or Thunderbolt cable, verify it's compatible with both your MacBook and the monitor. Additionally, make sure your MacBook isn't overheating as high temperatures can affect performance and connectivity.
Next, inspect the ports on both devices for any damage or debris. Try different ports if available; it's a simple fix that often works. If you're still having trouble, adjust the display settings. Go to the Apple menu, select System Preferences > Displays, and click "Detect Displays" to help your Mac recognize the external monitor. This can sometimes resolve issues with display compatibility and resolution settings.
Identifying Cable Issues
To identify cable issues, start by checking the connections between your MacBook and the external monitor. It's time to get down to business and figure out why your setup isn't cooperating.
First, make certain you're using the correct cables and adapters. It sounds simple, but it's more common than you think to have the wrong gear. Here's a quick checklist:
- Check cable compatibility: Verify your cables are compatible with both your MacBook and the external monitor. Different Mac models have different port types, so don't assume what worked for your old MacBook will work for your new one.
- Inspect cable quality: Look for any signs of damage or wear on your cables. If a cable looks frayed or has been through the wringer, it's time to swap it out. Inspecting for signs of wear can often prevent further issues.
- Test multiple cables: Try using different cables to rule out any issues with the current one. It's amazing how often a simple swap can fix the problem.
Don't be that person stuck with a non-functional setup because of a dodgy cable. Take a few minutes to check your connections, and you'll likely save yourself a whole lot of frustration down the line. Remember, it's the little things that can make a big difference.
Monitor Detection in System Settings
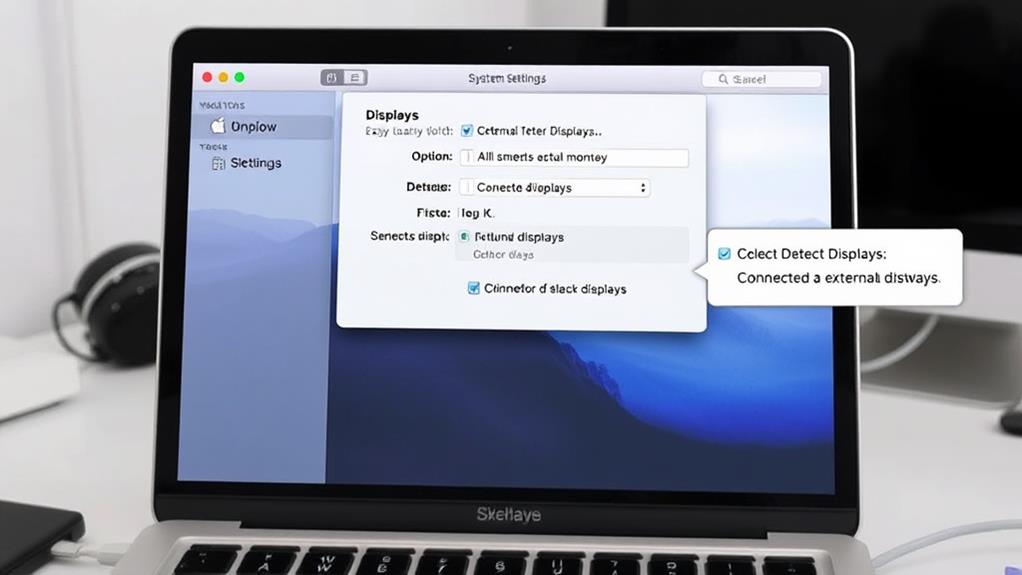
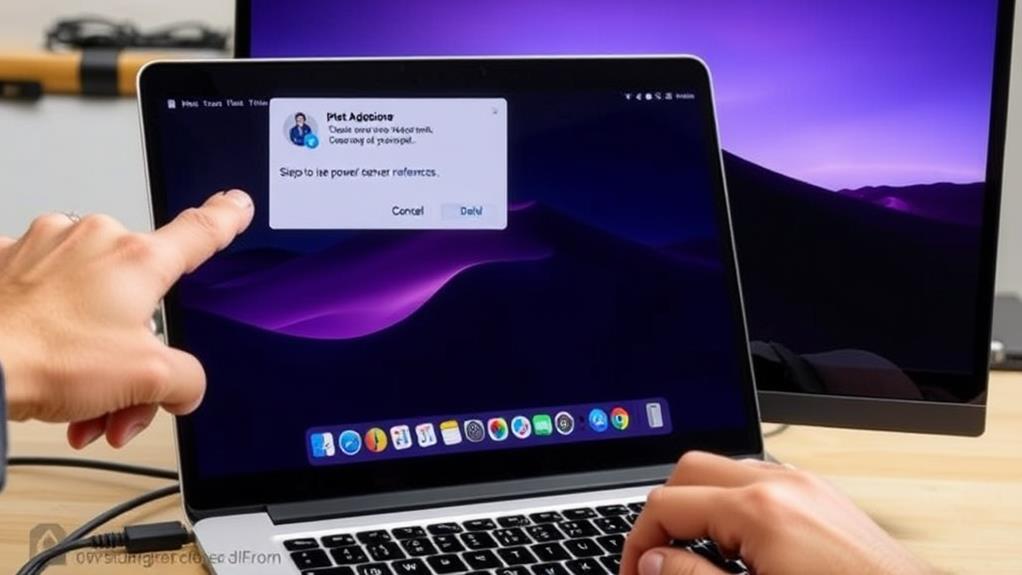
To get your MacBook to recognize that external monitor, you need to check the display settings. Go to the Apple menu, select System Settings (or System Preferences if you're on an older macOS), and then click Displays in the sidebar. Finally, press and hold the Option key to make the Detect Displays button appear, and then click it to see if your Mac can find the external monitor.
Access Display Settings
If your MacBook isn't recognizing an external monitor, accessing the display settings is crucial. This is your first step in troubleshooting, and it's surprisingly straightforward.
To access the display settings, follow these simple steps:
- Click on the Apple menu.
- Select System Settings (or System Preferences if you're on an older macOS version).
- Click Displays in the sidebar. You might need to scroll down a bit.
Now, here are a few key things to check in the display settings:
- Check for the Detect Displays button: Press and hold the Option key to make this button appear. Clicking it can sometimes magically make your Mac recognize the external display.
- Adjust the display resolution: Verify the resolution settings for your external display are correct. A mismatch can prevent the display from being recognized properly.
- Verify the external display is selected: Make sure your Mac is set to use the external display. You might need to select it from the available display options.
Detect Displays Option
When your MacBook isn't recognizing an external monitor, the "Detect Displays" option in the System Settings can be a lifesaver. This nifty feature helps your MacBook recognize and adjust to new displays, which can be especially handy after a software update or when you're switching between different monitors.
To use the "Detect Displays" option, follow these steps:
- Head to System Settings: Click on the Apple menu and select System Settings.
- Navigate to Displays: Scroll down and click on Displays in the sidebar.
- Press and Hold Option: While in the Displays menu, press and hold the Option key. This will make the "Detect Displays" button appear.
- Click Detect Displays: Click this button to prompt your MacBook to search for and recognize any connected external monitors.
This can often resolve issues with external resolution and display preferences, especially if your MacBook is not recognizing your monitor after a recent update or hardware change. It's like giving your MacBook a little nudge to say, "Hey, there's a new display here Recognize it!" If you're still having trouble, it's worth trying other troubleshooting steps like checking your cables and updating your macOS.
Resolving Multiple Monitor Conflicts
Managing multiple monitors on a MacBook can be frustrating, especially when the system fails to remember their arrangement. If you're struggling to get your multiple monitors to work in harmony, here are some steps to take:
- Check Your Cables and Connections: Verify all cables are securely plugged in and not damaged. A loose or broken cable can cause your Mac to recognize only one display.
- Avoid Chaining Connections: If you're using adapters or hubs, make sure they're compatible and not causing conflicts. Macs don't support DisplayPort MST, so daisy-chaining displays might not work as expected. It's also worth noting that third-party repair options can sometimes cause compatibility issues if non-genuine parts are used.
- Adjust Display Settings: Go to System Preferences > Displays, and press the Option key to reveal the "Detect Displays" button. This can help your Mac recognize all connected displays.
When dealing with multiple monitors, monitor compatibility and display resolution can be vital. For instance:
- Display Compatibility: Verify your monitors are compatible with your MacBook's ports. If you're using different types of displays, check their specifications to avoid compatibility issues.
- Display Resolution: Adjust the display resolution settings to verify they match the capabilities of your monitors. Sometimes, the system may default to a resolution that doesn't work well with multiple displays.
- Restart and Reconnect: If all else fails, restart your Mac and reconnect the monitors. This simple step can often resolve the issue of multiple monitors not being recognized.
Updating Macos and Drivers
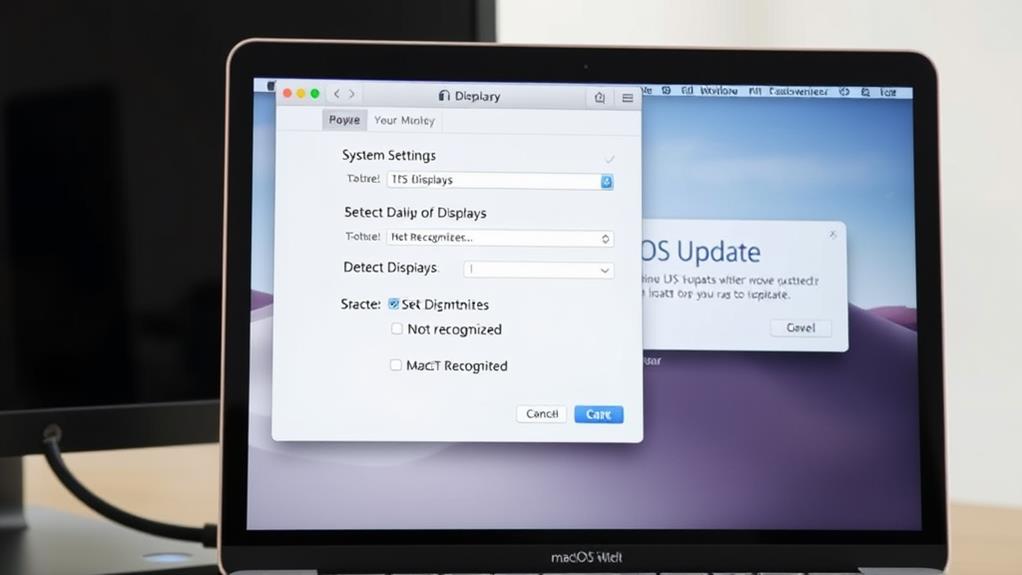
Updating your macOS and drivers can often resolve issues with external monitors not being detected or functioning properly. It's like when your phone gets a new update and suddenly everything works smoothly again. For your Mac, it's no different. First, make sure you're running the latest version of macOS. Simply click the Apple logo in the upper left corner, select "System Settings," and then choose "Software Update." If there's an update available, download and install it. This step alone can fix a lot of external monitor woes.
Next, consider updating your drivers. Sometimes, outdated drivers can cause your external monitor to act up. Visit the manufacturer's website for your monitor and check if there are any driver updates available. Download and install the latest drivers to make sure everything is compatible and working correctly.
Using Correct Adapters and Hubs
Using the correct adapters and hubs is essential for guaranteeing your external monitor works seamlessly with your MacBook. You don't want to be stuck with a blank screen, wondering why your expensive monitor isn't doing its job.
Here are a few key points to take into account:
- Check Adapter Compatibility: Make sure the adapter you're using is compatible with both your MacBook and the external monitor. Using the wrong adapter can lead to connection issues.
- Guarantee Hub Performance: If you're using a hub, guarantee it's a high-quality one that supports video output. Cheap or incompatible hubs can cause more problems than they solve.
- Secure Connections: Double-check that all cables and adapters are securely connected to both the MacBook and the external monitor. A loose connection can prevent the monitor from being detected.
Resetting Window Server Preferences
If your MacBook is crashing or slowing down due to WindowServer issues, it's time to take action. You can try killing the WindowServer process using a Terminal command, but this is more of a temporary fix. To reset your WindowServer preferences, you'll need to address the underlying causes, such as updating your macOS, resetting the SMC, or disabling certain visual effects that might be causing the issue.
Kill WindowServer Process
When your MacBook's WindowServer process is consuming excessive CPU resources, especially when connected to an external monitor, it's crucial to address the issue promptly. This high CPU usage can lead to a performance impact, making your MacBook slow and unresponsive.
If you're experiencing this, here's what you can do to kill the WindowServer process:
- Identify the culprit: Open Activity Monitor and look for WindowServer. If it's using a lot of CPU, you've found your problem.
- Force quit: Select WindowServer in Activity Monitor, then click the "X" (Stop) icon at the top left of the window and choose "Force Quit" when prompted.
- Restart your Mac: Sometimes, a simple reboot can fix the issue, as it forces a windowserver restart.
Use Terminal Command
To address the high CPU usage of the WindowServer process, especially when connected to an external monitor, you can try resetting the WindowServer preferences using a Terminal command. This can be a lifesaver when your Mac is acting like it's stuck in slow motion.
First, open Terminal. You can find it in the Applications/Utilities folder or use Spotlight to search for it quickly. Once open, type the following command and press Enter:
'''bash
defaults delete com.apple.windowserver
'''
This command line trick resets the WindowServer preferences, which might just do the trick to calm down that overactive process. If you're feeling extra lazy, you can also use Terminal shortcuts to speed things up. For instance, you can use 'Command + K' to clear the screen and start fresh, or 'Command + Shift + >' to increase the text size if you're squinting at tiny letters.
After running the command, restart your Mac to see if it makes a difference. This method can be particularly helpful if you've noticed that WindowServer CPU usage spikes whenever you're using an external monitor.
Alternative Connection Methods
When troubleshooting issues with your MacBook not detecting an external monitor, it's crucial to explore alternative connection methods. Sometimes, the problem isn't with your MacBook or the monitor itself, but with the way they're connected.
Here are some alternative methods to try:
- Switch to HDMI: If you're using a USB-C or Thunderbolt cable, try switching to an HDMI cable. Most modern monitors and MacBook Pros have HDMI connectors, and this can be a simple fix.
- Use an Adapter or Dock: If your MacBook only has USB-C or Thunderbolt ports, you might need an adapter or dock to connect to an HDMI or DisplayPort on your monitor. These adapters can carry power, data, and video signals, making your life easier.
- Check for Wireless Display Options: Although less common, some monitors support wireless display connections. If your monitor and MacBook both support this feature, it can be a convenient alternative to dealing with cables.

